Ocean Cottage Makeover Part 3: Back to The Interior
Once we had the exterior of the home looking nice, we decided it was time to get back to the interior. It was important to us that the interior of the home provided a calming atmosphere, so we got to work, starting with the bathrooms.
Remodeling the Bathrooms
First, the existing flooring in both bathrooms needed to go. In the guest bathroom, we put down beautiful dark blue wood look tile and placed it on the diagonal to add interest. Next, we replaced the washer and dryer with a new stackable unit and tiled the new shower.
Guest Bathroom Before
Guest Bathroom After
In the master bathroom, we made a couple of small, but significant changes to the layout. We removed the existing water heater closet and made that the doorway to the bedroom. We relocated the water heater (an on-demand unit) to the guest bathroom and walled up the existing doorway to make it a true master bath/en suite bathroom.
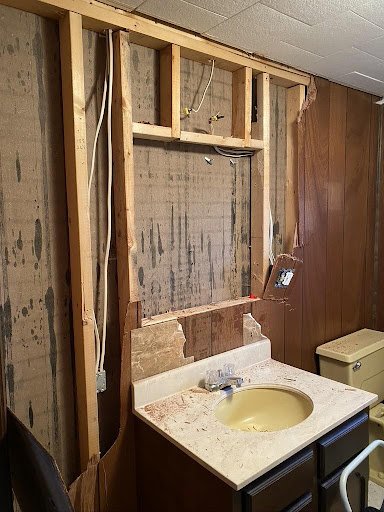
Next, we removed the harvest gold tub/shower unit, along with the old toilet and vanity, created a tiled shower, added a new vanity, toilet, and linen cabinet, and tiled the floor.
Master Bathroom Before & During
Master Bathroom After
Updating Walls, Flooring, and Moldings
Once the flooring and fixtures in the bathrooms had been updated, we tore down the paneling in the master bedroom, living room, and bathrooms, and added wallboard, new moldings, and of course, paint. When we first painted the guest bedroom paneling, it was just to clean the rooms up and make them feel liveable, but we ultimately decided to leave the white painted paneling, as it has a very beach cottage feel.
We also decided to leave the textured ceiling tiles throughout the house and just clean them up and paint them - but not before adding some recessed lighting! Next, we added LVP flooring and changed all the baseboard, crown, and window moldings throughout the house.
Door Updates
We replaced all of the old lauan doors with new two panel doors and painted them all black! Contrary to popular belief, black doors do not make a home feel smaller. They actually make it seem larger and add depth. A black door is dressier and elevates any interior style!
For the small guest bedroom and bathroom directly across from it, we chose to remove the traditional prehung doors and added sliding or barn doors. We purchased slabs of the same doors used throughout the house and decorative hangers and hardware. This eliminates the swing into the rooms and helps to make use of all of the limited space.
The Living Room
For the living room, we chose some small-scale furniture and an area rug from Home Goods. I upcycled a small louvered cabinet that the original home owner left behind to use for storage, as well as two end tables given to us using chalk paint.
Lastly, the big splurge was custom black-out window shades. They provided the essential finishing touch in the bedrooms and living room.
Living Room Before
Living Room After
The Final Update: The Kitchen!
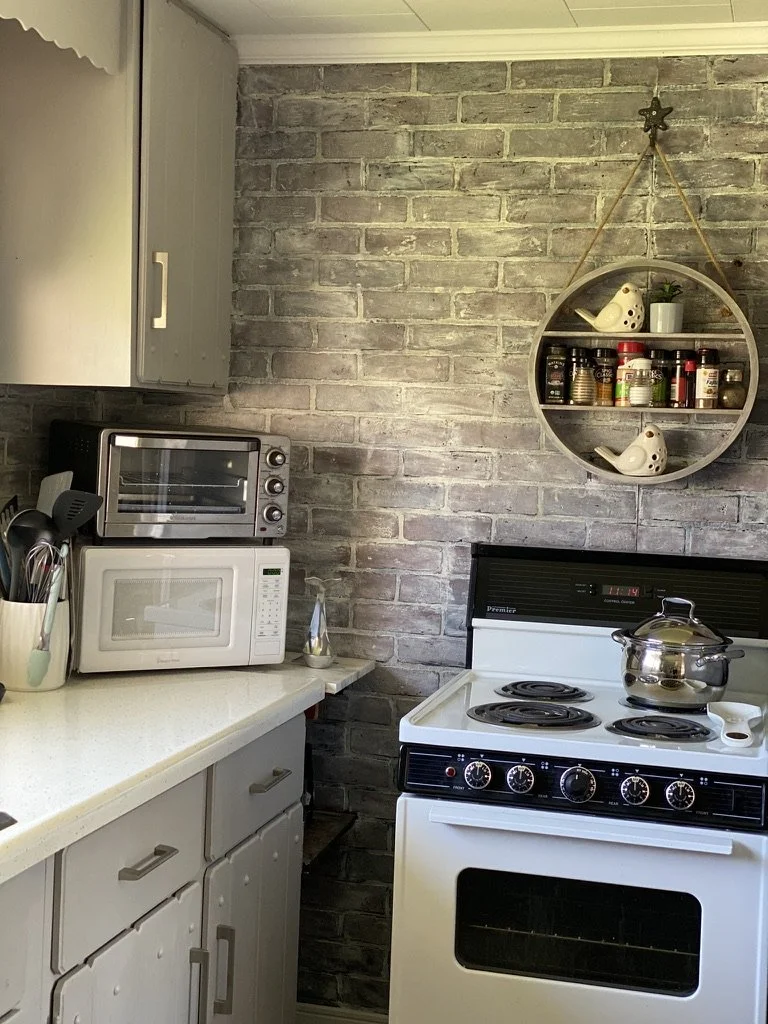
The last room to renovate is the kitchen. We are still unsure of our future in this house, so that will have to wait. For now we are leaving it with the painting facelift.
That said, the cottage is feeling a lot more like a place anyone would want to spend time in, small but definitely cozy! While we don’t have a water view, we love that we are so close we can hear the ocean. Stay tuned… who knows what the future holds!
We Love Designing Homes!
Need help with your interior or exterior design project? Let’s chat.


